![]()
![]()
![]()
![]()
![]()
![]()
![]()
![]()
![]()


All my content and ptohos

Replacing broken hinges in Asus F5M
First of all, sorry for quality of photos. I'll try to describe as much as possible, photos are from my cell phone.
After 5 years or reliable working every day my Asus F5M-AP033 broke. The biggest problem was the left hinge, which broke off the lower part.
I bought a new pair of hinges, but when I heard that replacing will cost more than hinges themselves, I decided to do it myself.
I take no responsibility for damages if you screw it up. For me, this method worked well.
One important thing: If you decided to replace hinges, replace BOTH of them. If you replace one, it'll have to bear more tension from worn-out second hinge and it'll make a new hinge break faster.


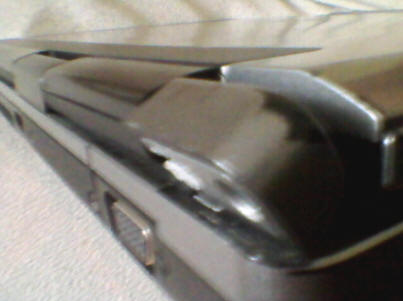
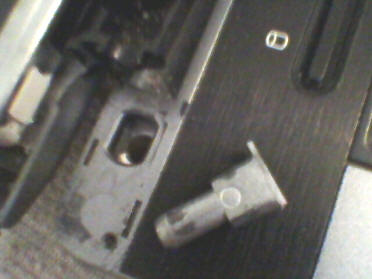
This photo shows a new pair of hinges. Left and right, they're different. In the
photo on the right - hinge detail.
Let's look at the photo on the right. There's an aluminium part with bigger bolt.
This bolt comes to the lower part of laptop and is secured by screw on the
bottom. The tab on the right of this part has a hole, in which a screw comes
securing silverish plastic cover in place.
Now, let's look at broken hinge:
First, we have to remove the plastic cover. Close the lid. Using pliers,
carefully rotate the broken part to the position, which is normal when lid is
CLOSED. It's a bit hard, but it works.
Alternatively, you can remove this cover from hinge when it's removed, but it
may cause some difficulties while removing broken hinge.
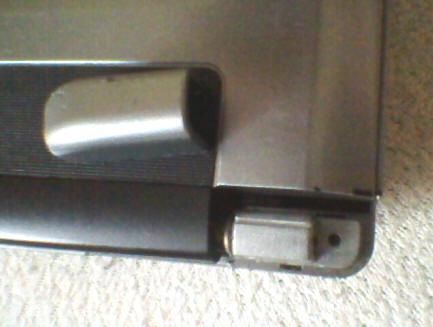
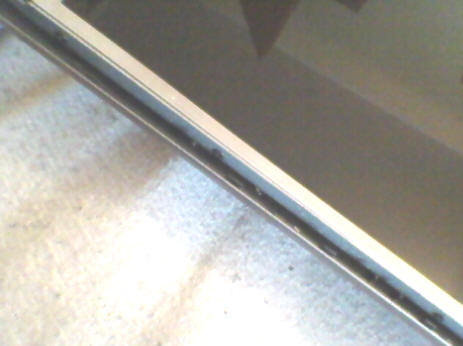
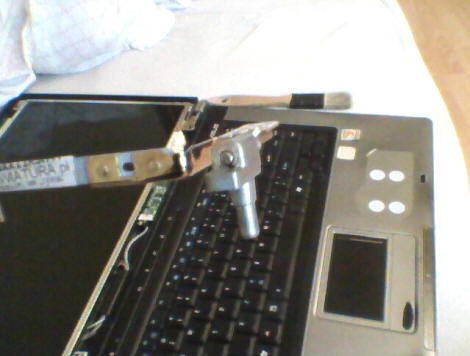
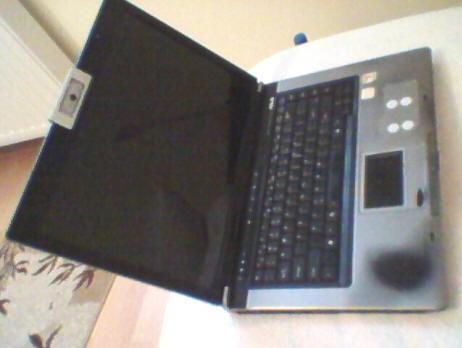
Now, open your laptop horizontally (photo on the left). You
should be able to remove the screw. Close it back (but not using hooks),
carefully lift the lid about 5mm and pry the cover upwards. The photo on the
right below shows removed cover:
Now it's time to remove a LCD bezel. Remove 4 screws near camera
and 3 screws in the lower part. Leave the black stickers and rubber from screws,
you will put them back. Now, open laptop as in picture above (left) and using a
flat blade knife start prying cover carefully putting knife between a bezel and
silver plastic cover.
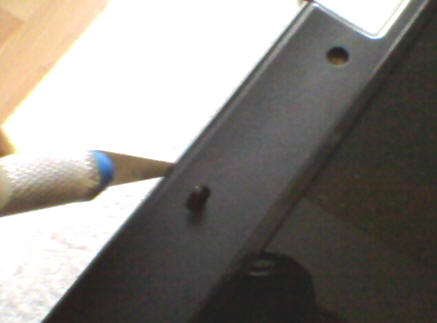
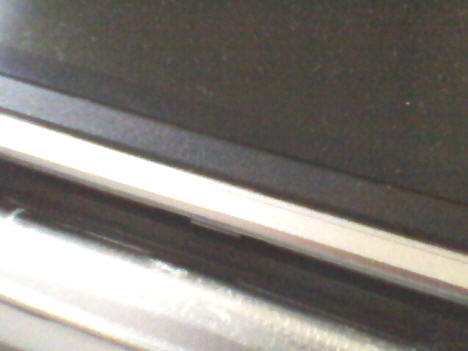
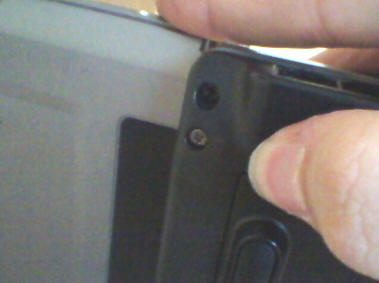
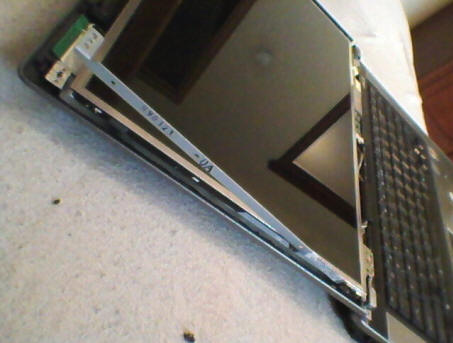
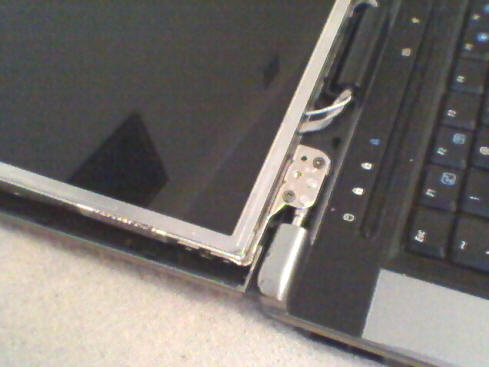
This photo shows quite nicely where to start, you should do it from camera to
the bottom on both sides. If you have it "unlocked" on both sides and near
camera, let's go to the last hook on the top of bezel: Rotate camera a bit lower
and you'll se it right below the camera (photo on the right, the shiny thing in
bottom-left is the top of webcam).
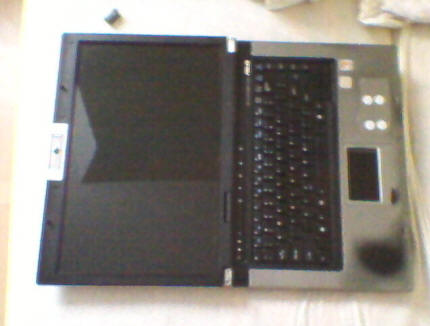
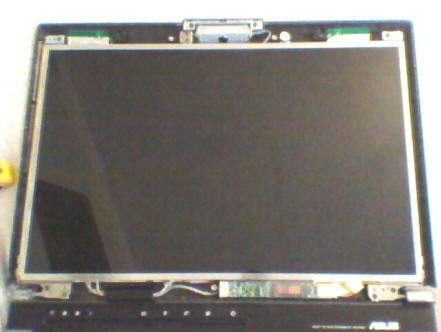
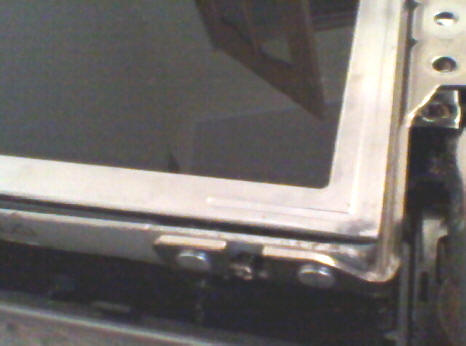
Removing locks from bottom part is similar to the upper, but you have to be careful near cables passage. It won't go smoothly, you have to slide it left, remove part and next slide it right (or reverse way). Laptop with bezel removed:
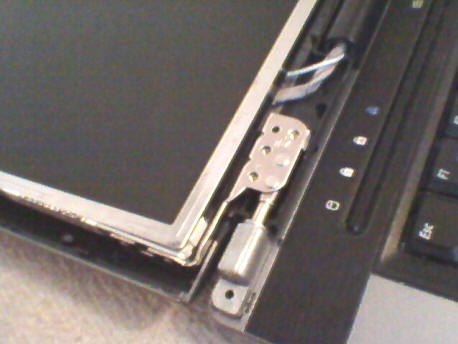
Now, let's look at upper and lower parts of hinges:
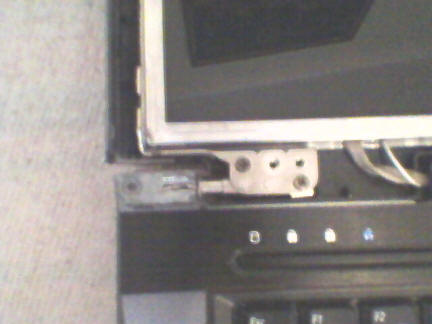
In the left photo (lower part of hinge), you can see my broken hinge and how it's secured to lid. In the right one a screw securing upper part of lid and one of 4 screws keeping hinges to LCD panel. These look like this:
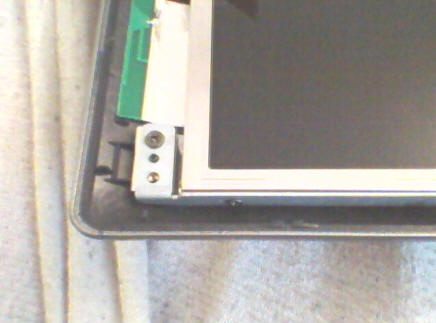
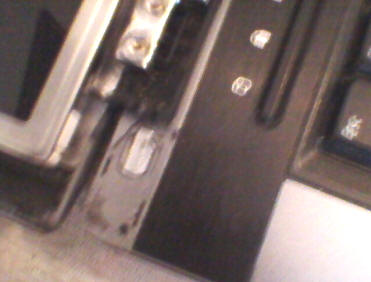
Now, let's start removing the broken hinge. Start by removing the upper screws of both hinges (upper-right photo). Now remove lower screws (upper-left). Now lift the panel carefully and remove screws of the broken hinge on its side. Remember about this one coming between rivets (right photo).
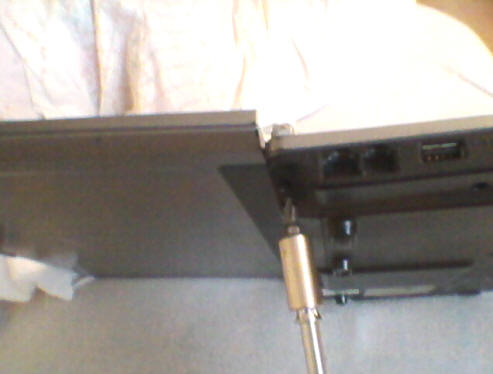
Now you should be able to remove broken hinge. Photo below shows
a broken part still sticking in the lower part of a laptop. To remove it, remove
a screw in the bottom (shiny screw in the right photo).
Removed bolt:
OK, now let's prepare a new hinge. First, rotate it by 90
degrees to look like shown below:
Now you can install the plastic cover back on it, remember about screw securing it. Install the hinge back in the lid, making sure that the bottom part of hinge fits well in the base (WARNING! In photos there's no cover, there should be of course!):
Carefully screw a new hinge to the panel. Now to the bottom.
Finally fasten top screw. Now you can apply the screw on the base:
Finally it should look like this:
Replacing a good hinge on the other side is similar:
First, remove screw from the base.
Now remove screw from top of lid (both of them should be removed or the panel
will break!).
2 screws from Bottom of lid.
Screws from LCD panel
Remove hinge, remove cover from it (remember about cover screw!).
Turn a new hinge 90 degrees.
Install cover to the good hinge.
Put a new hinge to laptop, putting bolt in hole.
Fasten the panel
Fasten 2 screws of lower part
Fasten screws on the top of panel.
Fasten screw on the base.
Now, put the bezel back. It should go without problems, remember about sliding it first on the cables passage! Put screws and stickers back.
You can find links to laptop disassembly/repairing instructions on http://repair4laptop.org. If something goes wrong with linked page, you can always try Internet Archive's Wayback Machine.
MCbx, 2011

