![]()
![]()
![]()
![]()
![]()
![]()
![]()
![]()
![]()


All my content and ptohos

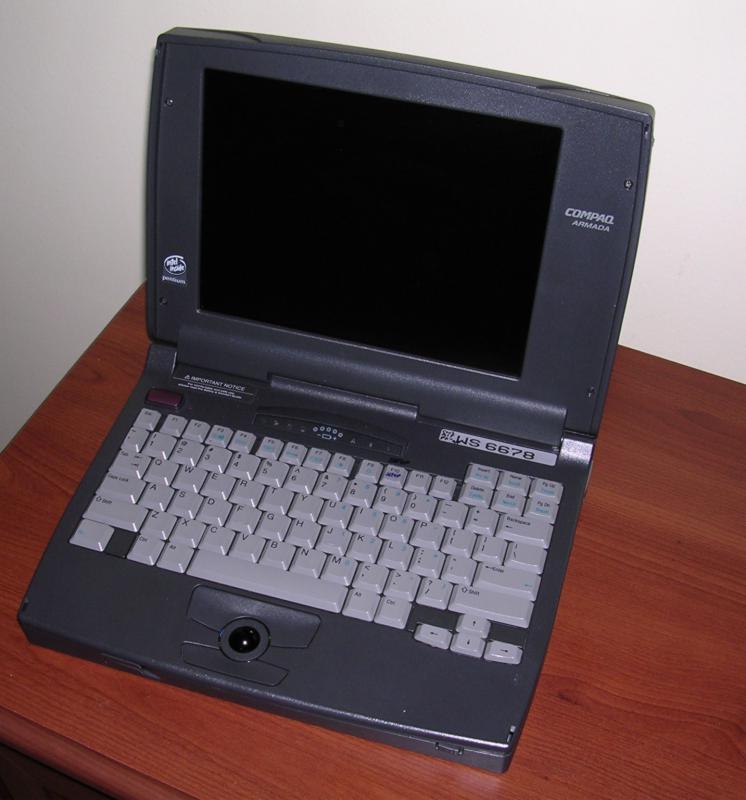
Compaq Armada 1120
Compaq was well known brand of PCs, they made first
portable PCs in 1980s, with CRT displays and later with "portable
plasma" displays. In 1990s they still manufactured PCs, servers,
portables and peripherals.
Armada line had always some "experimental", computers with non-standard
solutions and strange applications. There were also cheaper models for
business. This Armada has fast Pentium processor, not much RAM and no
sound card. Its trackball is totally optical, not mechanical like mouse
or as in earlier notebooks - here sensor shines directly on a ball. It looks like a notebook designed for text processing or
office applications, but having computational power of Pentium
processor. The same time there were better Compaq notebooks with better
sound and video cards.
Personally, I think that Compaq made a big mistake doing one thing: BIOS
setup is not in ROM. In ROM you have only the simple "error detected,
boot setup or continue / fatal error, can't continue" procedure, the
setup must be booted from floppy disk or special partition on hard disk
(can be created with bootable setup disks, 4MB required). This is
typical in many
Compaq notebooks, Armada line and some Presario PCs.
| Manufacturer | Compaq |
|
| Origin | USA | |
| Year of unit | 1996 | |
| Year of introduction | 1996 | |
| Type | Laptop, PC | |
| CPU | Intel Pentium 100MHz | |
| RAM | 8MB onboard expandable to 24MB | |
| Floppy Disk | 3.5" 1.44MB internal | |
| Hard Disk | 800MB | |
| Other media | None | |
| Graphics and display: | VGA 640x480x16bit LCD TFT (model 1120T) or LCD
CSTN (1120) Chip: WD Paradise |
|
| Sound: | PC Speaker NO sound card |
|
| Keyboard and pointing device: | Small PC keyboard without
numeric part, numeric part on letter keys. Trackball |
|
| OS: | Windows 95 |
|
|
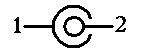
Power supply: |
||
|
1 - Ground |
||
| I/O: | - Serial port - Parallel port - VGA out - 2x PCMCIA - Dock connector |
|
| Possible upgrades: | Memory up to 24MB probably with proprietary SODIMMs (or very picky about memory) | |
| Additional peripherals: |
To replace BIOS battery: Just remove a whole front cover. Remove
screws from bottom (don't remove these in back), unlatch locks and
remove a whole keyboard, touchpad etc. Now you have access to HDD and
BIOS battery (upper left corner).
If it doesn't turn on, you should check the fuse, it's a white
rectangular thing in small socket on mainboard, look the lower-right
from power socket.
Ah, one more useful thing - to turn it off press Ctrl-alt-Power (or Ctrl-alt-Fn-Power) keys. To boot Setup press F10 at boot, if setup partition exists BIOS will flash a small rectangle in upper-right corner, if not boot from floppy.
|
|
Announcement |
|
|
Reference guide |
|
|
Hardware maintenance manual |
|
|
BIOS update to 5K_0830.99 Rev. B WARNING! Improper flashing may damage your hardware! |
|
|
NVR cleaner, Parallel port setup, QBasic fix |
|
|
Setup and diagnostic disks |
|
|
Setup for Windows 3.x |
|
|
[WIN3x/9x]Drivers and utilities (VGA, patches, etc.) |
|
|
[NT 3.51] VGA tools and drivers |
|
|
[OS2]VGA tools and drivers You should also check High Resolution tool from NT3.51 package. |